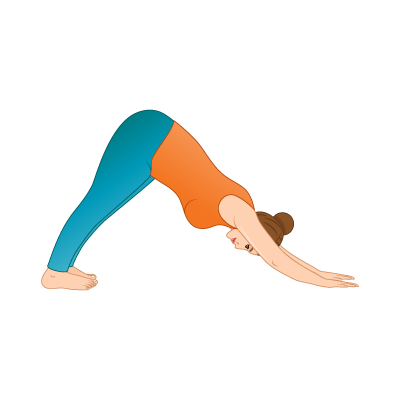
Downward Facing Dog
Adho Mukha Svanasana
STEPS
Start on hands and knees, lining the knees up underneath the hips and the hands just slightly forward from the shoulders. The index fingers should face towards the front of the mat.
Tuck the toes under and lift the pelvis up and back to make an upside down V with the body. The heels may or may not touch the floor. Turn the pelvis s the sitz bones lift up towards the ceiling and the lower spine becomes neutral. Draw the shoulders away from the ears and keep the head in alignment with the spine. Spiral the arms onto the body by turning the eye of the elbow or inner part of the elbow forward. (See the Technical comments for more details into the pose)
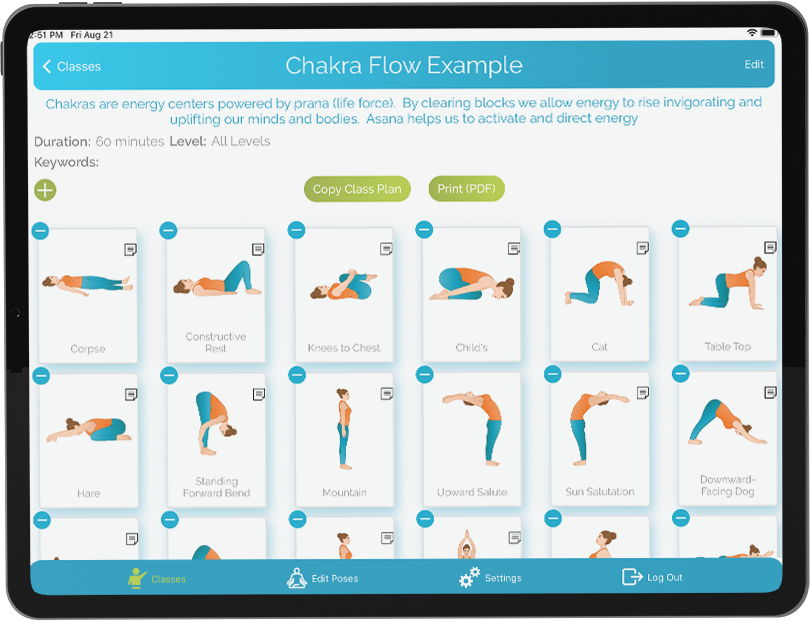
This posture can be held for a minute or two and is used throughout Sun Salutations (Surya Namaskar).
TEACHER QUEUES
VISUALIZATION COMMENTS
Invite your inner dog to play in this pose. Visualize this movement in an animal’s body, the naturalness of the stretch, the inherent balance between the front and back of the body. Though this posture requires strength and flexibility, in many practices it is considered a place to rest before flowing into the next posture or sequence. Embody effortless effort in your down dog.
TECHNICAL COMMENTS
For many students Downward facing dog is a challenging pose to find good alignment. Tightness in the back and hamstrings threatens to pull the pelvis into a posterior pelvic tilt, while muscle imbalances in the shoulders can make it tricky to get the shoulders into place. The best place to start is as soon as the knees come off the floor. While the hips lift up and back, keep the knees bent deeply enough to find a gentle arc in the lower back. This arc should mimic the natural curve of the spine without exaggerating it. Keep the knees bent as you bring awareness to the hands. The fingers are spread out wide, with the index finger pointing forward to bring a gentle ‘turnout’ to the hand. Maintain contact on the floor with the tips of the fingers and the knuckles at the base of the fingers. Continue the turnout up the forearms to the elbows, spiralling the inner part of the elbow towards the front of the room while maintaining a soft, open joint- not locked. The upper arms will continue to spiral towards the shoulder blades. Lift the upper most part of the arm bone up and back and widen the shoulder blades while gently sliding them down the back. This allows the front of the chest to open. Now bring awareness to the front of the body. Gently draw the ribcage in so that the bottom of the ribs is in line with the top of the hips. From this very stable body begin to straighten the legs while maintaining the posture. The legs may or may not fully extend depending on tightness. Firm the thighs by lifting the kneecaps. Delicious- breathe and enjoy!
BENEFIT COMMENTS
- Stretches hamstrings, calves, shoulders, and chest.
- Strengthens upper back, core, arms, legs, hands and feet.
- Stimulates the body and helps calm the mind.
- Good for digestion
- Strengthens bones
WATCH OUT FOR
- Weight in the wrists- index fingers lifting off the mat
- Elbows locked
- Shoulders lifted towards the ears
- Head dropping
- Ribs popping
- Lack of abdominal connection
- Pelvis tucked under
- Knees locked- muscles of the legs not engaged
- Feet out of alignment
CONTRAINDICATIONS
- Use caution with wrist issues- i.e., carpal tunnel syndrome, repetitive strain injury (see modifications)
- High blood pressure- though this posture can be helpful for students with high blood pressure, proceed with caution. Watch for blood rushing to the face and shortness of breath.
MODIFICATIONS
- For wrist problems and tightness in the shoulders try rolling the front edge of the mat or use a blanket to elevate the wrists and decrease the angle into the hands.
- Perform Dolphin Pose, coming onto forearms
VARIATIONS
- Lift one leg in parallel holding the leg in line with the torso. Hold for a few breaths then release and repeat on the other side.
- Lift one leg up, as above, then bend the knee and arc the leg back allowing the pelvis to rotate to the side and stacking the hips. Try to keep the upper back and shoulders square to the floor. Release and repeat on the other side.
YOGA COUNTER POSES
- Child’s Pose – Balasana
- Standing Forward Fold- Uttanasana
- Warrior I– Virabhadrasana
Written By: Meghan Aris
Certified in several disciplines of yoga, a pilates teacher and teacher trainer, Meghan is continually widening her path of body/mind studies. At a young age she began her journey into body movement through dance. After being diagnosed with Rheumatoid Arthritis, she shifted her practice to more rehabilitative yoga. In this discipline she found not only the resources to heal her body, but also a guide to living a life full of peace and joy. She can be found teaching on any given day at Fix Health Care

JOIN OUR NEWSLETTER
- Class planning tips
- Pose instruction articles for teachers
- Marketing, student retention and management tips